1. Introduction
This document contains information on how to access the OIT Software Distribution Store. A typical software purchase using the Account and Fund number payment is described.
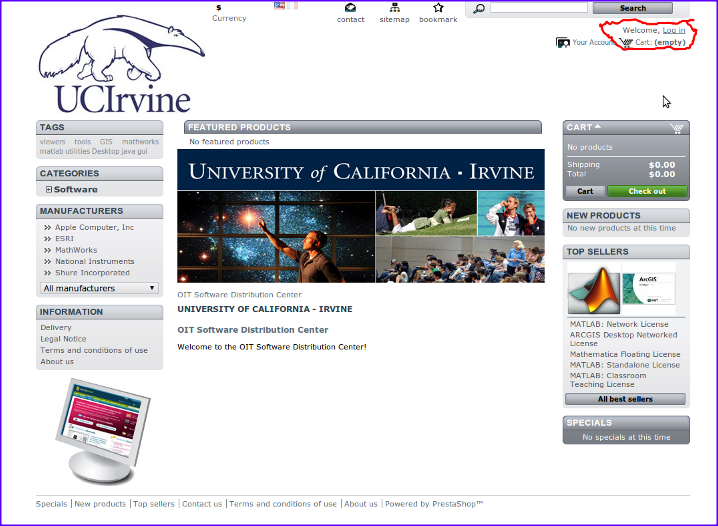
The OIT Software Distribution Store is much like any other online store. You can start off by entering the main page here.
2. Logging In
2.1. All Users
A new user must first register herself before she is able to make a purchase. In our store, we’ll be using UCI’s WebAuth system and the campus LDAP server to provide public personal information. Start by clicking the [Log In] button here:
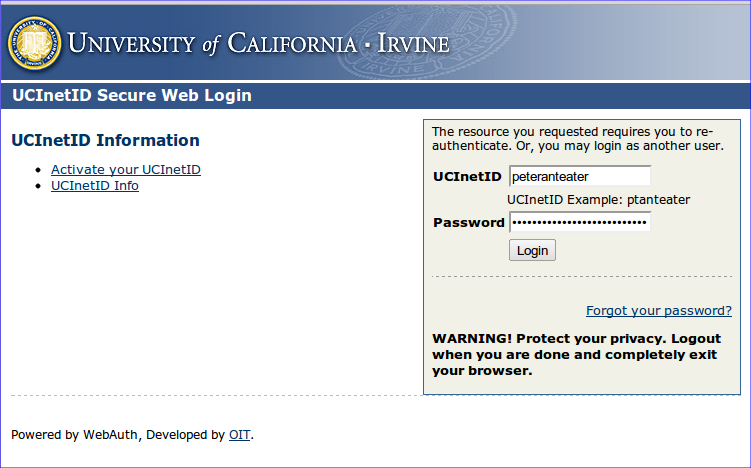
When clicked, the user will be redirected to the UCI’s WebAuth page.
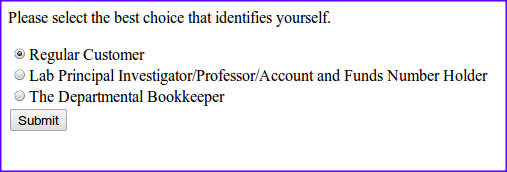
If this is your first time logging into our online store, you’ll be prompt a question that asks to select a choice that best suits your identity. Be sure to select wisely because you will NOT be able to modify this later on without administrative intervention.
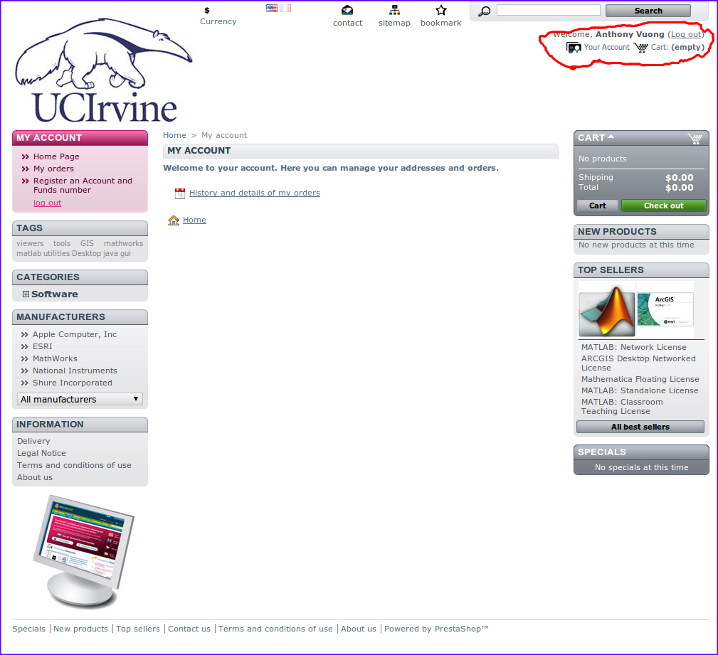
Afterwards, you’ll be logged into our store and be redirected to the main page.
2.2. Bookkeepers
If you are the Departmental Bookkeeper and you’re registering to allow your Department to be able to purchase software, just select the Bookkeeper role as shown in the image above, click the Submit button and you’re done.
2.3. Principle Investigators
If you are the Principal Investigator or Grant-holder and you’re registering to allow your students and staff to be able to purchase software, just select the Lab principla Investigator role as shown in the image above, click the Submit button and you’re done.
2.4. Adding Products to Shopping Cart
At this point, you can proceed to select and add software into your shopping cart.
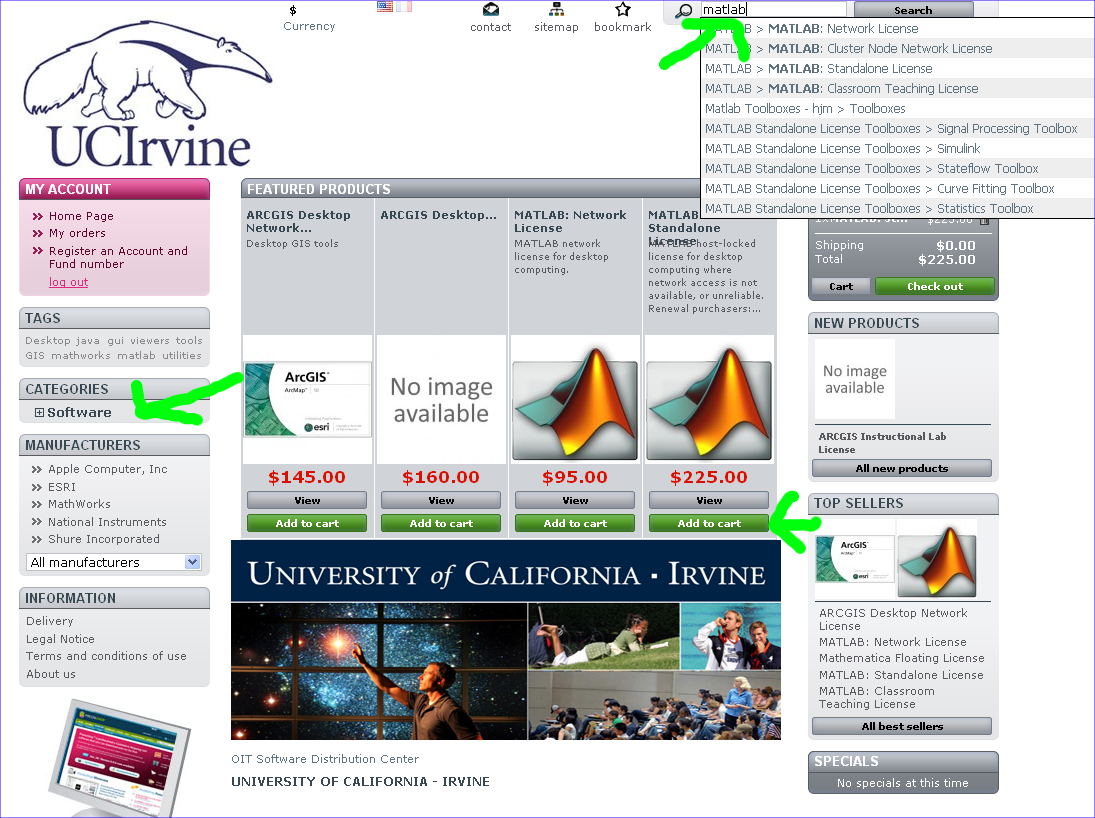
2.4.1. Searching for Software Products
You can search for software by typing a keyword into the search field or clicking the categories tab. Afterwards, add the product to the cart. (green arrows in ScreenShot below)
2.5. Check Out
At check out, some public information associated with your UCINetID is displayed. Note that all software products can be electronically downloaded after purchase - the download link or installation instructions will be emailed to you after you complete the purchase.
Next, you can select the type of payment used to purchase the products.
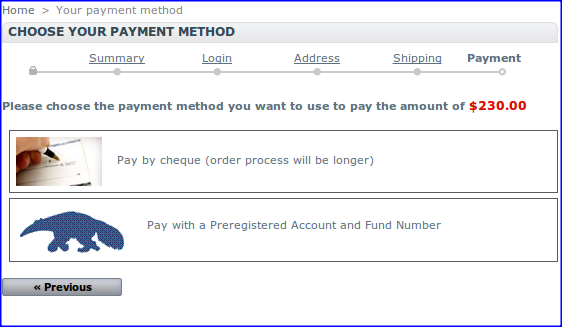
2.5.1. Check Payment
You can choose to pay with a check, however you are responsible for mailing/sending the check to OIT. Processing and acceptance time may vary.
2.5.2. Account and Fund Payment
You can also choose to pay with a Account/Fund number. At this point in the demo, there aren’t any registered Account/Fund aliases so we’ll have to complete a Purchase Name form in order to pay via Account/Fund number.
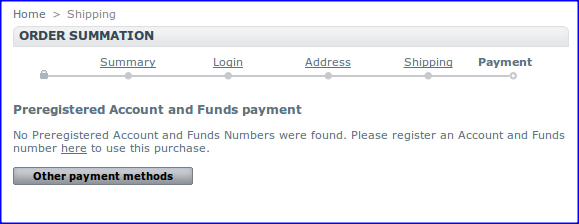
Start by clicking the Register Account and Fund Number on the left tab.
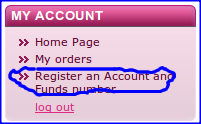
This will lead you to a blank Account/Fund Registration form.
There are a few conditions that must be met in order to successfully register a project:
-
You must provide an Account and Fund number. If you are using another person’s Account and Fund number, you’ll have to select him/her in the dropdown box under "Account and Fund/Grant Holder". If you are the "Account/Fund" holder, then simply select yourself.
-
You must select a Departmental Bookkeeper to be notified of this purchase under the dropdown box labeled "Departmental Bookkeeper". If you do not see your Departmental Bookkeeper’s name in the dropdown box, then he/she must login to the store once and select her identity.
-
You must provide a Purchase Alias for this purchase. For example, AnthonysAccntAndFund or HarrysAcntAndFund would suffice.
-
You must provide the IP addresses of your network license Hostgroup and a Project Name if purchasing software that requires a network license.
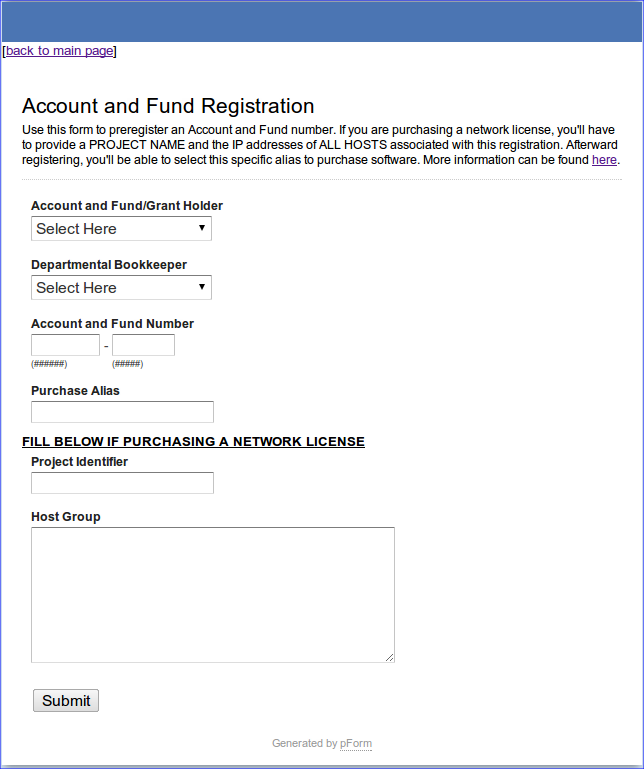
Here’s a sample of registering an Account and Fund number for purchasing software that does not require a network license.
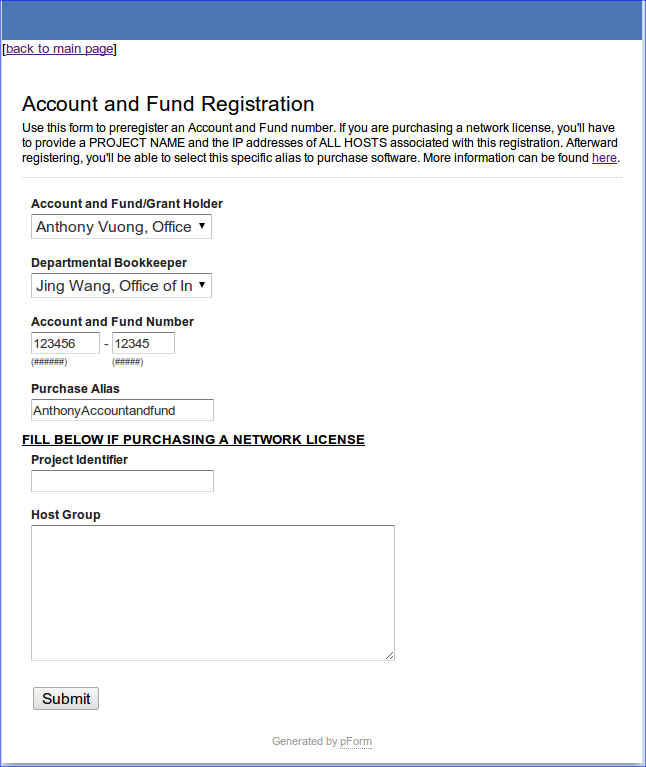
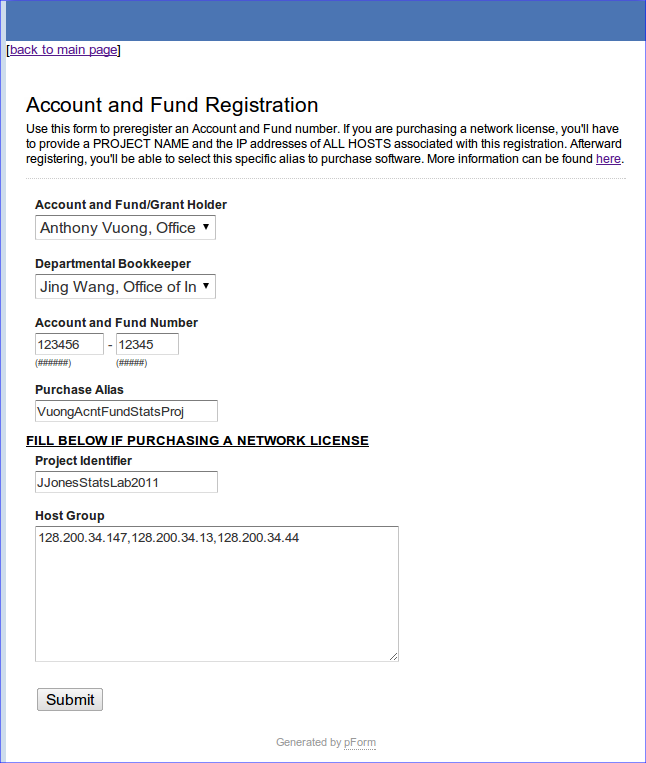
Here’s a sample of registering an Account and Fund number for purchasing software that requires a network license.
Afterwards, just hit the submit button and this registration can be used to purchase.
Now you can select your registered Account/Fund and use it to pay for your purchase.
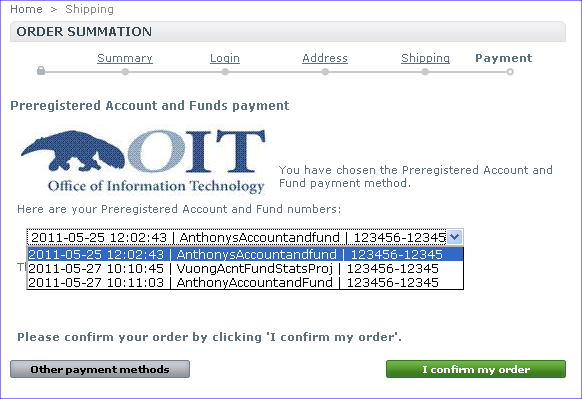
Once the purchase has been processed, an order confirmation page will be displayed. A confirmation email with instructions will also be sent to your email.
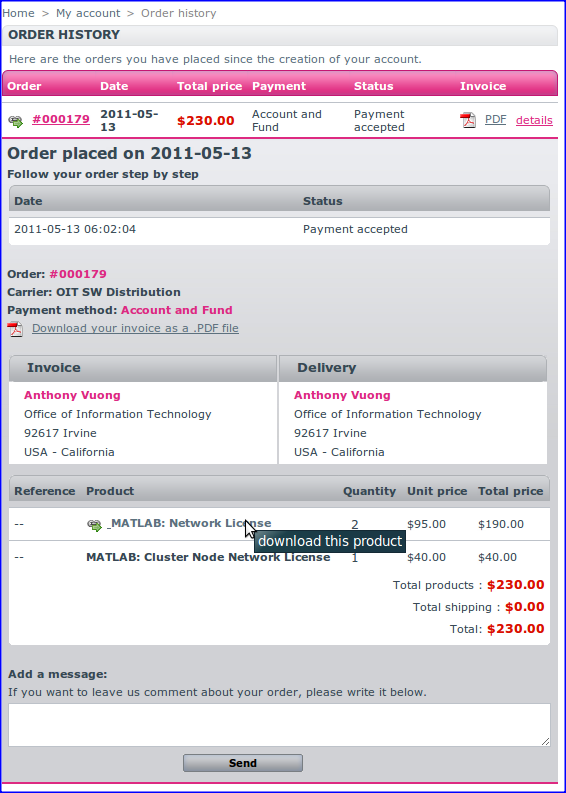
2.6. Previous Orders/Downloads
You can access your previous orders by clicking >>My Orders on the left tab.
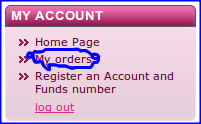
A page displaying a history of orders will be displayed and clicking on one of those links will display the particulars of that orders.